We all use laptops and computers in our daily lives. But only a handful of people are familiar with the 802.11n WLAN driver. It was first launched in 2007 to replace 802.11a, b, and g.
As a layman, you wouldn’t understand the importance of 802.11n. It is a wireless network standard that makes use of multiple antennas to boost the WLAN speed. To enjoy increased speeds and smooth browsing, you should update 802.11n drivers on your Windows device.
The good thing about 802.11n specification is that it is supported by all the Windows versions including Windows XP/Vista/7/8/8.1/10.
If you are wondering how to download 802.11n drivers for Windows PC, we have got your back. In this post, we will tell you everything you need to do to install these drivers.
Steps To Install 802.11n Drivers
There’s a good chance that 802.11n drivers are already present in your device. In that case, your goal should be to enable the pre-installed drivers. To make that happen, you should follow these steps:
- Start by accessing the Control Panel on your device.
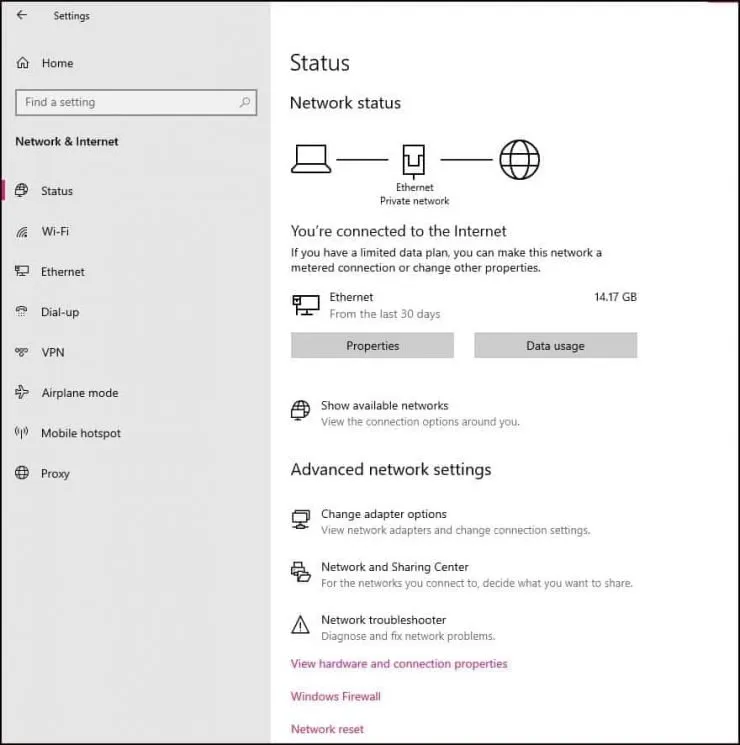
- Then go to Network and Sharing Center.
- Locate the option Change Adapter Settings.

- After finding the Wi-Fi adapter, right-click on it to see the properties.
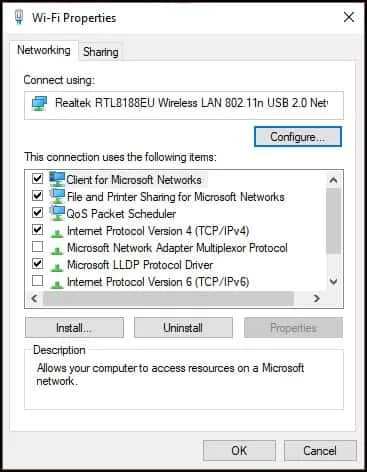
- Click the Configure option and select Advance Tab.
- Locate 802.11n and enable it.
You are to follow these steps if the 802.11n drivers are already installed on your device. If not, then you will have to download them manually.
To download 802.11n drivers, follow these steps:
- You can find the 802.11n drivers online with a simple Google search. Several sites are offering to download the drivers. Just make sure to choose a legitimate website. The best would be to get the drivers from the manufacturer’s official site.
- Once you find the 802.11n drivers, don’t rush to download them. A genuine manufacturer will provide multiple options to work with different systems.
- You need to know your PC’s specs to choose the right version of the 802.11n driver. You can find this information by checking the properties of your device.
- The next thing you need to know is if your Windows PC is 64-bit or 32-bit. All these things are to be taken into consideration for the drivers to work smoothly.
- Now you can download the correct 802.11n version for your device. It will get saved in the Downloads folder.
- Open the downloaded file by double-clicking on it.
- The installation process will be handled by the installer, meaning you don’t need to do much.
- Just follow the instructions and click Next, and then Continue.
- Once the drivers are installed, you must reboot your device.
- When the PC starts after rebooting, you are ready to use it.
Other Methods To Install 802.11n Drivers
There are other methods too that can be used to install 802.11n drivers. The method we are about to explain uses the device manager. Pay attention to the steps to learn what needs to be done.
- The first thing you need to do is access the device manager. You can simply press the Windows button on your keyboard and enter Device Manager in the search bar. Or use the run dialog box.
- The next thing you need to do is locate the Network adapters and select the branch to see all the existing network cards on your device.
- Once you find 802.11n, right-click on it to select the Update option.
- Search for available updates, and proceed to install them. It will take some time for the installation process to complete.
- After the installation process is over, restart your PC.
This is probably the easiest way to install the 802.11n drivers. However, people who are not that tech-savvy might find it difficult to follow. If you are not confident about doing it yourself, you can take the help of a professional.
When downloading 802.11n, make sure that you get it from the official website. Other sites claiming to offer 802.11n might not be genuine and install malware on your device. To avoid that from happening, you should download the drivers only from a trusted online source.
The task of updating the drivers manually is not only difficult but also quite time-consuming. To make things easier you can take the help of a driver updater tool. It can perform all these tasks for you.
The purpose of a driver updater tool is to identify missing drivers and install them on your PC. It spares you from completing the steps manually. This is a great option for users who are not very good with tech.
The only issue is their penchant for updating applications that you don’t need. If you want to update your drivers without much hassle, you should use a driver updater tool.
Update 802.11n Driver via The Windows OS
You can also update the 802.11n driver via the Windows operating system. As soon as you plug in the 802.11n WLAN adapter, it will be recognized as a new device by Windows, causing it to load the 802.11n WLAN card driver.
A new pop-up will appear, consisting of the words, Found New Hardware. Once you see that notice, allow Windows to do its job.
However, this will be complete only if your device is connected to the internet.
Update 802.11n WLAN Driver via Driver Talent
If Windows failed to install the 802.11n WLAN driver updates, no worries, you can try a different method. Driver Talent can automatically download 802.11n on your device. This method doesn’t require you to do much.
Once the drivers are installed, run a free scan and update them.
- Click on the Scan button to detect outdated drivers.
- Select the Update button to download the latest driver updates.
- Once the driver updates are installed, perform a restart to apply the changes.
Note: Don’t forget to create a backup and system restores point. It will come in handy if anything were to go wrong with the process.
Importance Of 802.11n WLAN Driver
To laypeople, 802.11n would be just another computer specification. But in reality, it plays a crucial role in the wireless network connection.
A driver is needed to connect the device to your PC. You can download the 802.11n updates automatically or manually. If you choose the latter, then you should get it from the manufacturer’s website.
However, choosing automatic download can save you from downloading the wrong drivers. You also don’t have to worry about completing the steps manually. This reduces the risks of anything going wrong. When you choose the automatic option, the 802.11n driver is updated automatically without much human intervention.
Another thing to remember is to check if the driver update is available in your language. It will help you to understand the steps easily.
Features Of 802.11n WLAN Driver
The main features of the 802.11n WLAN driver are:
- It is free to install.
- It is compatible with all Windows versions.
- It is fast and safe to install.
- It can be installed easily.
Final Words
802.11n driver is more important than you think. It’s standard for wireless network connection. By updating the 802.11n drivers you can improve the internet speed and enjoy smooth surfing. Now that you know how to download or update the drivers, it should be easier for you to go about it.
Contents